Roles Management
How to access Admin menu:
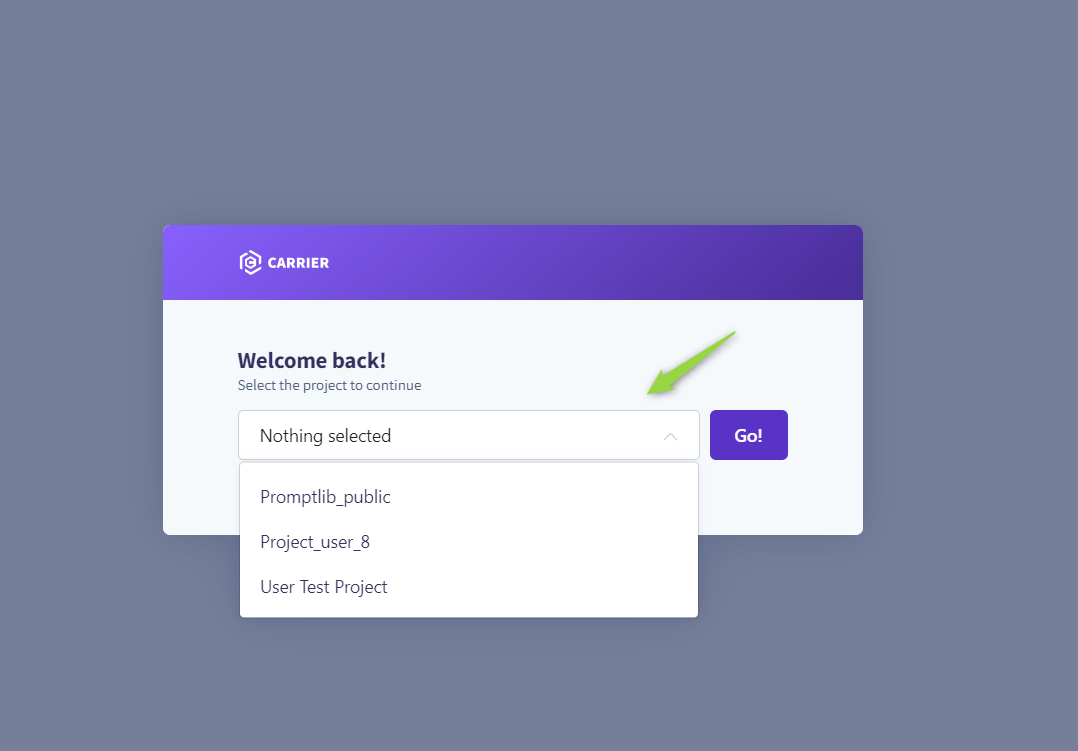
To configure or modify the admin settings for a specific project:
- Navigate to
https://alita.lab.epam.com/-/configuration/users/. - Select the project from the dropdown list for which you want to set up or adjust the admin settings.
Roles Menu
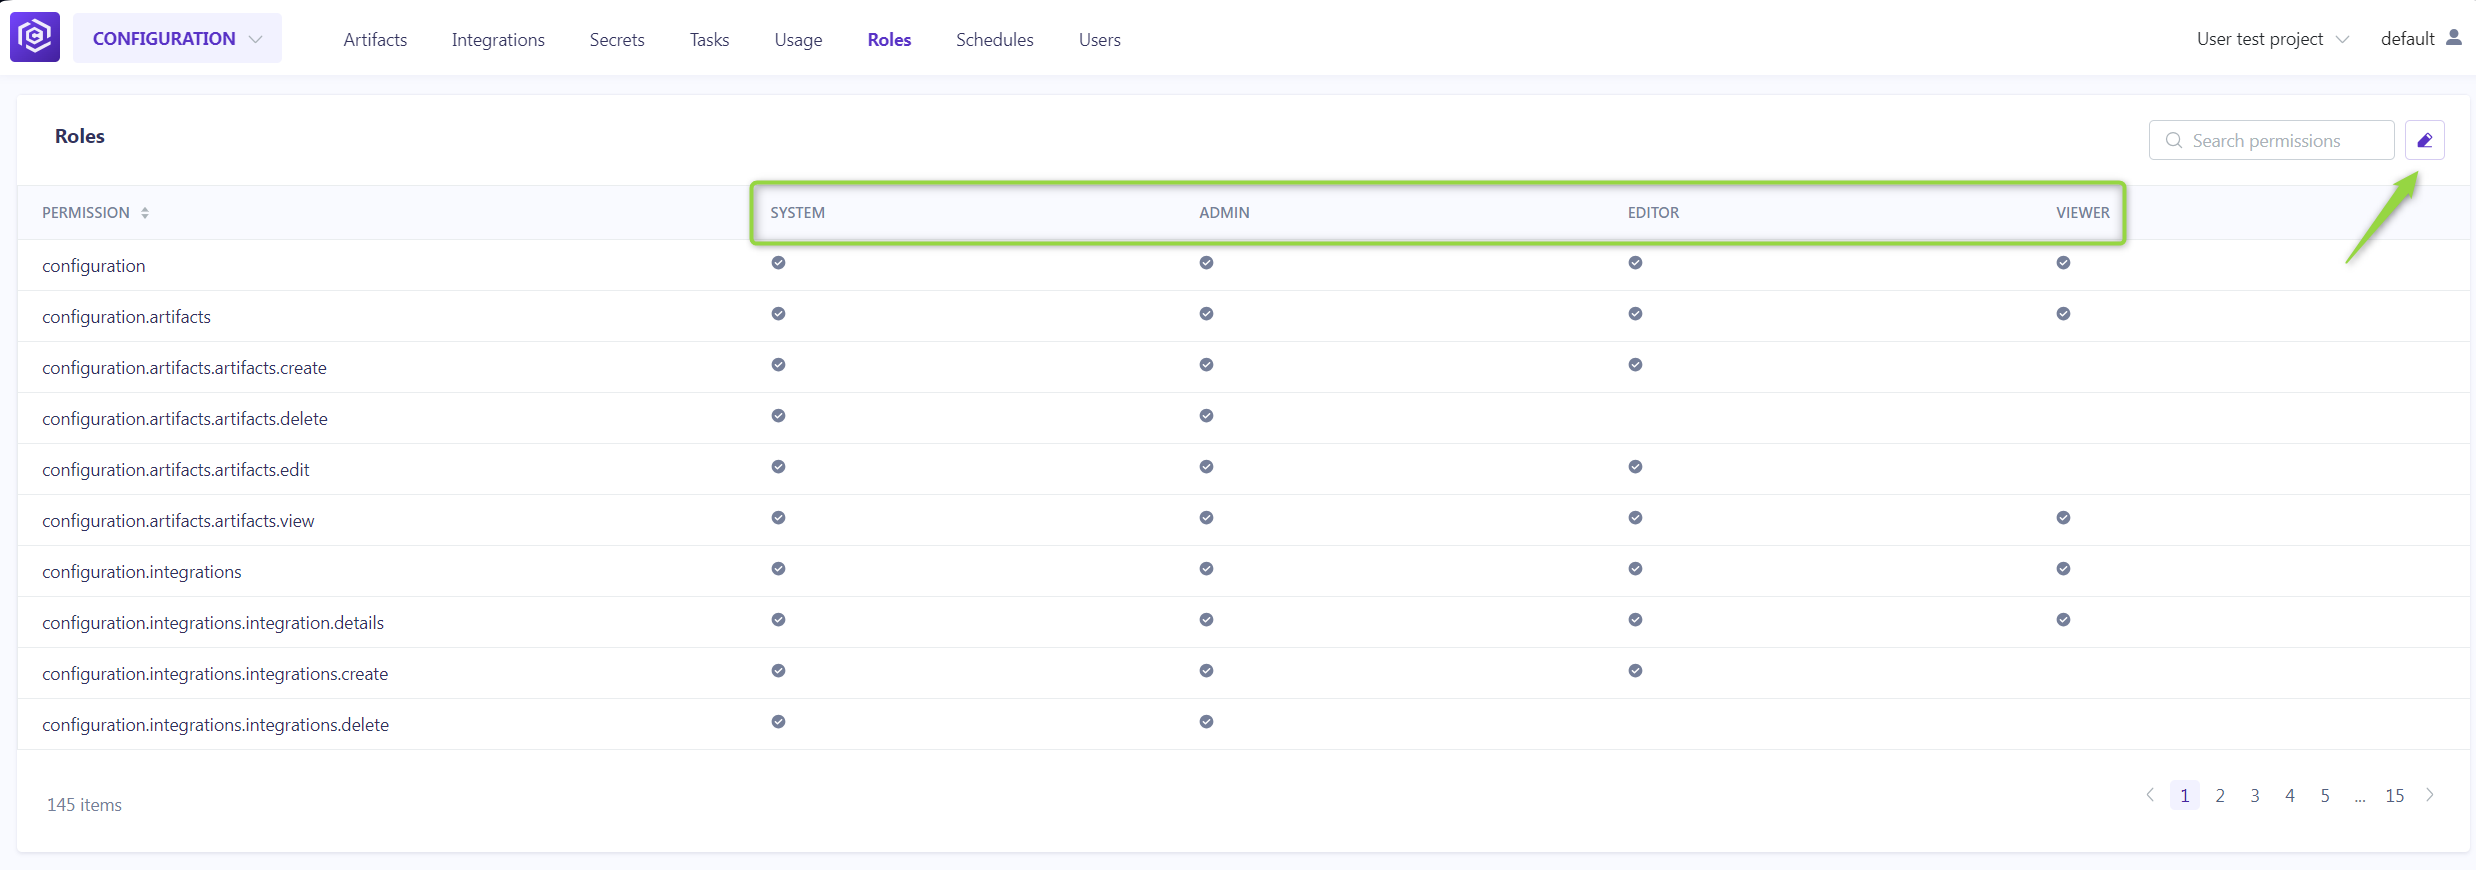
The Roles menu allows for the detailed configuration of permissions across default and custom roles, tailoring access to the project's needs.
Default Roles:
- System: Grants comprehensive permissions, including additional administrative capabilities.
- Admin: Allows full project access and user management.
- Editor: Provides editing rights within the project without administrative privileges.
- Viewer: Limits access to viewing permissions, excluding any create, read, update, delete (CRUD) actions.
Customizing Roles:
To adjust permissions for any role:
- Click the Edit roles icon.
- Toggle the checkboxes for each permission as needed.
- Click the Save to apply changes.
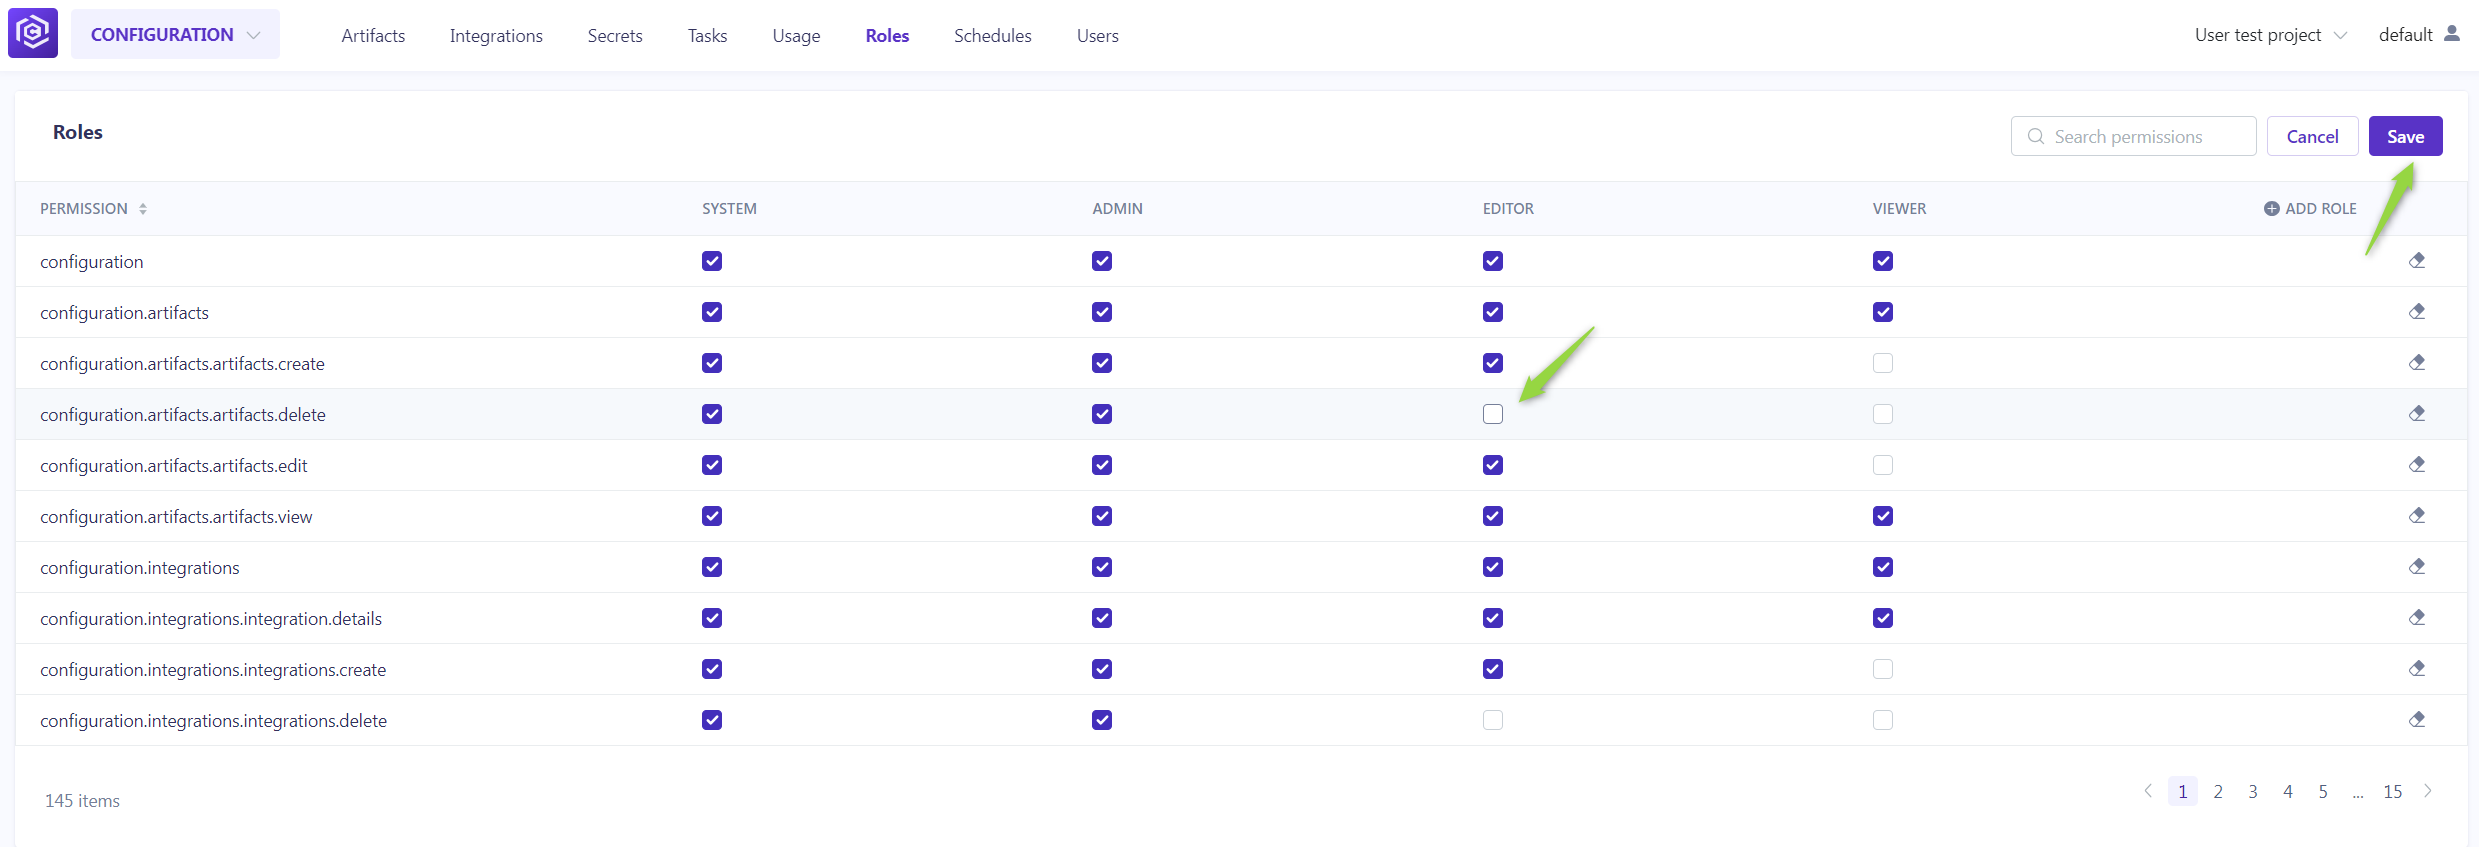
Creating a New Role:
- Click Edit roles.
- Then Add role. After naming the new role, select the desired permissions.
- This custom role will now be available for assignment in the ELITEA HUB→Settings→Projects menu.

By understanding and utilizing the Roles menu, administrators can ensure that project participants have the appropriate access levels, fostering a secure and efficient collaborative environment.